Local AI: why, what, how
Data science, machine learning, applied AI researcher, and mountaineer. Retired from the City of Garden Grove, CA.
Why
A year ago, I was convinced that running AI locally on consumer hardware would never be useful or cost-effective. The gap between frontier models and local models was too wide, and closing it was too expensive. The releases of Qwen 3.8 27B and Gemma 4 this year changed my mind.
There's still a performance gap between local models and the frontier, but it's much smaller than it was. More importantly, the economics now work. Local models have improved, harnesses have improved, and frontier token subsidies are going away. Once you own the hardware, local tokens are unmetered. Your only limits are your GPU and your electric bill.
Privacy is the other obvious benefit. You aren't sending sensitive data to a frontier lab that might store it or train on it. Medical and legal questions come to mind for individuals, and proprietary data for organizations.
What
I bought a second GPU, adding an RTX 5060 Ti 16GB to my existing RTX 4070 Ti 12GB. If you have a DGX Spark, Strix Halo, or modern Mac, you can use unified memory. I think 32GB of VRAM is the current sweet spot for running the best small dense models. At 28GB, I sometimes have to drop to a slightly lower quantization, but it's close enough. My system also has 64GB of DDR5 RAM, which can hold layers when running mixture-of-experts (MoE) models. As open-weight models evolve, the hardware requirements will too.
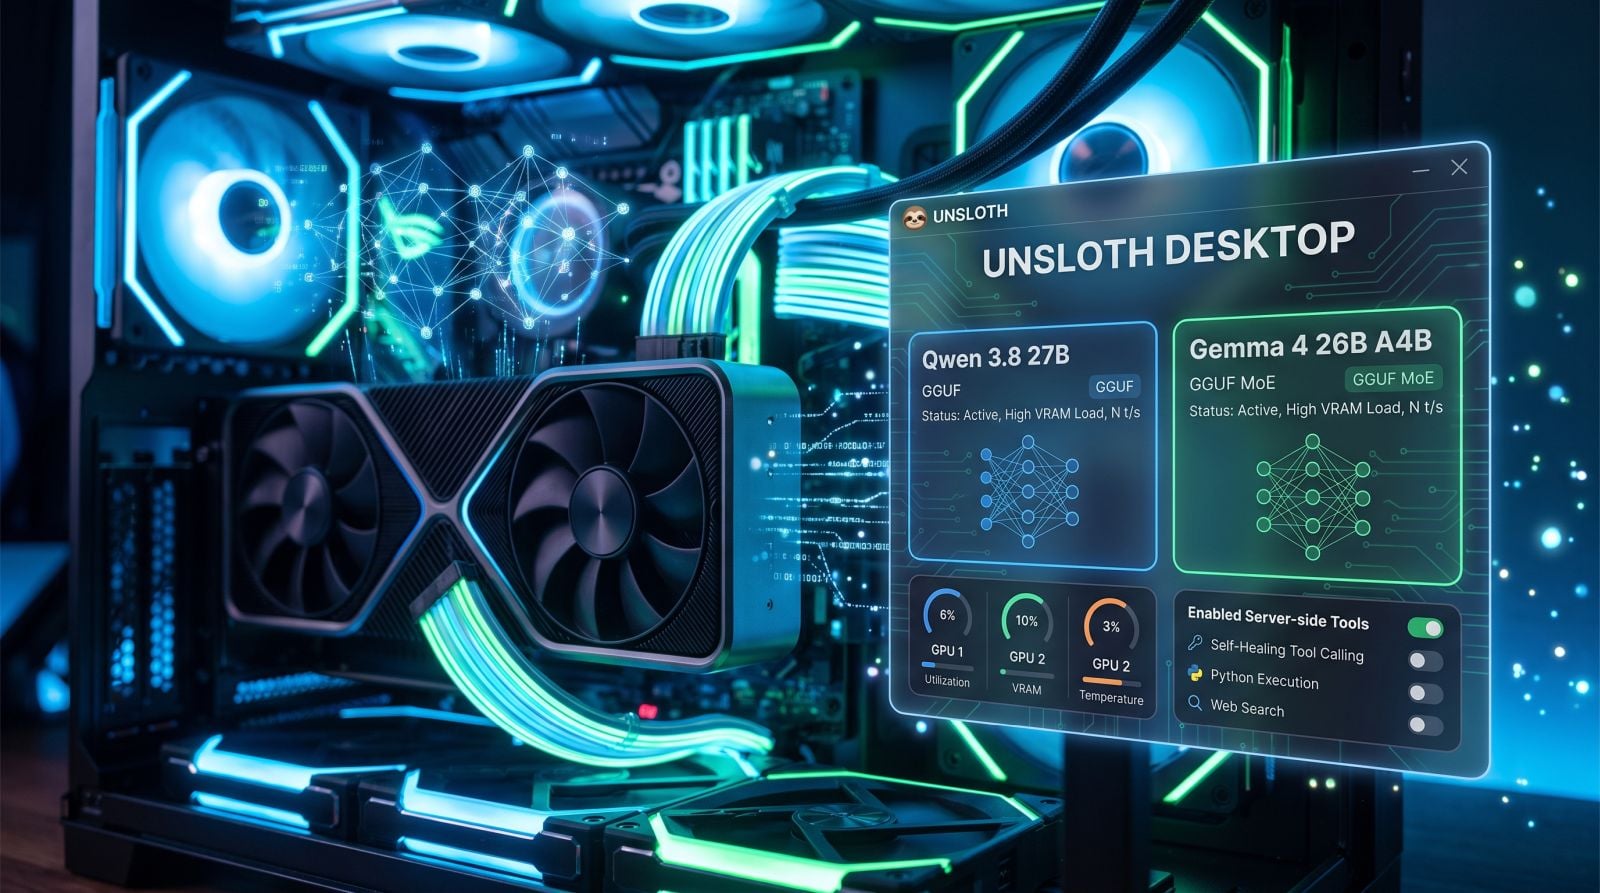
My daily driver is Qwen 3.8 27B dense (Unsloth's UD-Q4_K_M quant). It's 17GB on disk and uses about 22GB of VRAM once the context window and KV cache are loaded. I could probably run a higher quant if I closed other GPU-heavy apps like games.
A note on quantization: A model is essentially a giant set of arrays of floating-point numbers. Most open-weight models are released at BF16 or FP8 precision, though it varies by lab. The community then publishes quantized versions that are much smaller but less precise. How much precision you can give up before quality suffers is measured with benchmarks and settled by hands-on testing. Q4 is a common rule-of-thumb minimum, but your mileage may vary.
For a harness, I love Unsloth Desktop. It downloads models from Hugging Face and runs them efficiently with llama.cpp under the hood, and it's also built for fine-tuning. It has a clean interface and useful built-in tools: fully local web search, file and image upload, a coding sandbox, adjustable thinking levels, and approval levels. It isn't as full-featured as Hermes, but it's leaner. I use the Windows version. Native Mac and Linux versions are also available.
Unsloth can serve local models through OpenAI- and Anthropic-compatible endpoints, both on your machine and across your network. It can also connect a local model to Claude Code and other harnesses. Some are easier to configure than others, but the docs are excellent.
How
Download and install Unsloth Desktop.
Pick a model that fits your hardware. I recommend any Q4-or-higher quant of Qwen 3.8 27B. If you have less VRAM and need an MoE model, try Gemma 4 26B A4B IT QAT.
In Unsloth Desktop, open the Model Hub and browse or search for a model. Clicking a model shows its details and whether Unsloth thinks your hardware can run it. Download one or more.
Load a model. On the right side of the chat window, click Run settings to configure the context window size, cache, and other advanced options, or leave the defaults. I set thinking to "extra high," which is Qwen's default.
(Optional) Create a portable context portfolio: a set of files you can give any LLM so it knows the key details about you, your life, and your projects. The easiest way is the interview at https://www.contextportfolio.ai/, created by Nathaniel Whittemore of The AI Daily Brief.
Give Unsloth your context. I prefer creating a project in Unsloth and uploading the portfolio files in the create dialog, so every chat in that project can use them.
Customize the project's system prompt. After creating the project, edit it and fill in the Instructions box below the project name. Its text is sent ahead of every chat in the project, which makes it the natural place for a system prompt. Tell the model what kind of specialist or personality it should be.
You now have a customized environment with a strong local model that knows you and your goals and is ready to work. You may want several projects with different system prompts, some with your personal context and some without.


